I am so excited to finally share this project with you! This Reversible Scarecrow / Snowman project was super easy, affordable, and it is ADORABLE! Plus, who doesn't just LOVE decorations they can leave out for several months but still have it correlate with the seasons!? This can be displayed for both Fall and Winter, which eliminates having to create multiple projects during our busy day-to-day lives. You can even use this in your classroom for some added spunk and festivity! :)
Here is the final outcome:

This project was Pinterest-inspired. There are many different variations, but I wanted to break this down for you, in 5 simple steps, and show you how EASY this is to make! I wanted to make mine look cute and cartoon-like, hence the large eyes, but you can make yours look however you like!
You can add words or phrases to the brim of the hats, if you desire. For example: "Happy Fall, Y'all!" and "Let It Snow!" would be adorable! Just play around with it!
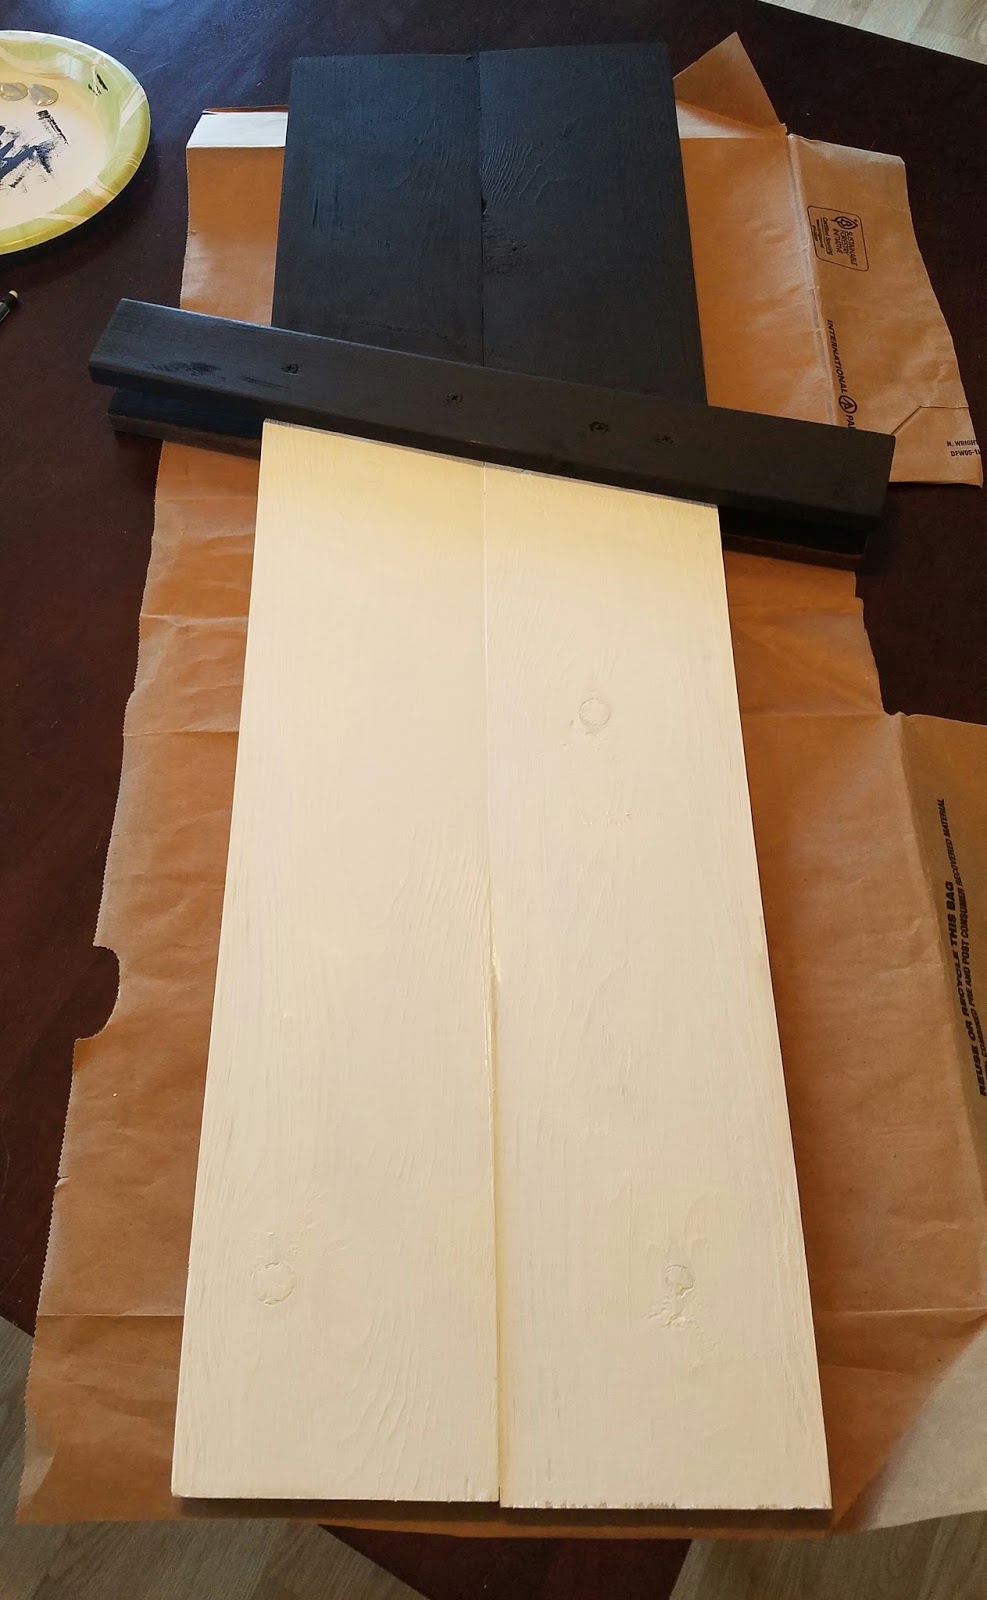
Here is what you will need:
- Two 1x6 Wooden Boards (36" each)
- Two 1x2 Wooden Boards (19" each)
- Mouse Sander and 180 Grit Sandpaper Insert
- Liquid Nails Adhesive and Caulk Gun
- Drill and Four 2" Screws
- Minwax Stain (Provincial & Golden Oak)
- Paintbrush, Tack Cloth, and White T-Shirt for Staining
- Pencil
- Assorted Paintbrushes (Thin/Sponge Brushes)
- Paper Plate
- Acrylic Paint (Large Bottles - Black & White; Small Bottles - Orange & Pink)
- Krylon Matte Finish Spray
- Decorations of Your Choice (ex. raffia and fake flowers)
- Hot Glue Gun
Step 1: Sand, Glue, & Screw
Sand all boards front and back until smooth. Wipe clean with a Tack Cloth. Place the two 36" boards together and glue together using Liquid Nails. Let dry overnight, if possible. Place the two 19" boards on the front and back of the 36" boards to make the brim of the hat. Angle slightly if desired. Drill the screws through the three pieces of wood- brim, 36" board, brim. Repeat with other 3 screws.
Step 2: Stain
Follow the directions on the stain cans to stain one side to be your "scarecrow." Leave the other side plain, as it will eventually be painted to make your snowman. We used Minwax in PROVINCIAL for the dark hat. We used Minwax in GOLDEN OAK for the light face. Use the stains YOU like! :) You can even use paint if you don't feel comfortable staining. You may want to use shades of brown and tan. Let dry.


Dark: HAT

Light: FACE

Step 3: Plan & Paint
Once your stain is dry, you are ready to draw and paint! I decided to complete the entire scarecrow side first. I had this lovely Keith Lawson Company notepad lying around in the kitchen, so I decided to draw out the idea on paper first. Next, I used a pencil to draw out my scarecrow's face. I used very light marks, which were very easily erasable! Trust me...this was not a one-time shot! :) Unless you're a professional artist, this will take you a few tries! It is OK! It will erase! :) Woohoo!
 Once I was satisfied with my drawing, I squirted some paint onto a paper plate and went to town! I used a variety of thin paintbrushes. I let my scarecrow dry overnight just to be sure he was good to go before I flipped him over. I didn't end up painting the cheeks on my scarecrow. He looked fine and dandy without them. :)
What I Used:

Time to FLIP! This time, I used the thick, sponge paintbrushes. They cover a larger surface area, so I used them to paint the black hat and white face of my snowman.

If you want, you can also draw on a few snow drops or frost on your snowman's hat. They are super easy to paint on using a thin paintbrush. It's all in the details!
Step 4: Seal the Deal
Once again, I let my paint dry overnight just to be sure everything stayed in place. Then, it was time to give the entire piece a good, clear seal. My project will be outdoors, so I wanted to give it some extra protection against the elements...especially with the upcoming snowy winter months! It is predicted that we will be getting 2-4 blizzards this year!!! Yikes! For this part, I used Krylon Matte Finish. It took less than 5 minutes to spray it completely and let dry.
Step 5: Decorate
In my opinion, this part is the MOST FUN! :) You get to decorate your scarecrow and snowman however you please! I used a hot glue gun to glue on raffia and fake flowers to complete the look. You can use ribbons, bows, burlap, etc. You name it!
Here he is! My friend, Sammy the Scarecrow!!! He is out on our front porch for Fall, and with one easy flip, he will turn into Stan the Snowman for Winter! So simple!

Thanks SO much for stopping by! I hope you enjoyed this project! Have fun creating your own using these 5 simple steps and please share your own ideas below! :)
